

Thumbprint Cookies
If you’re looking for one more addition to your holiday cookie box, Thumbprints are a great choice! They’re easy to make, require minimal chilling, have lots of flavor possibilities, and add a fun pop of color to your holiday cookie spread.
Thumbprints are some of my favorite holiday cookies.
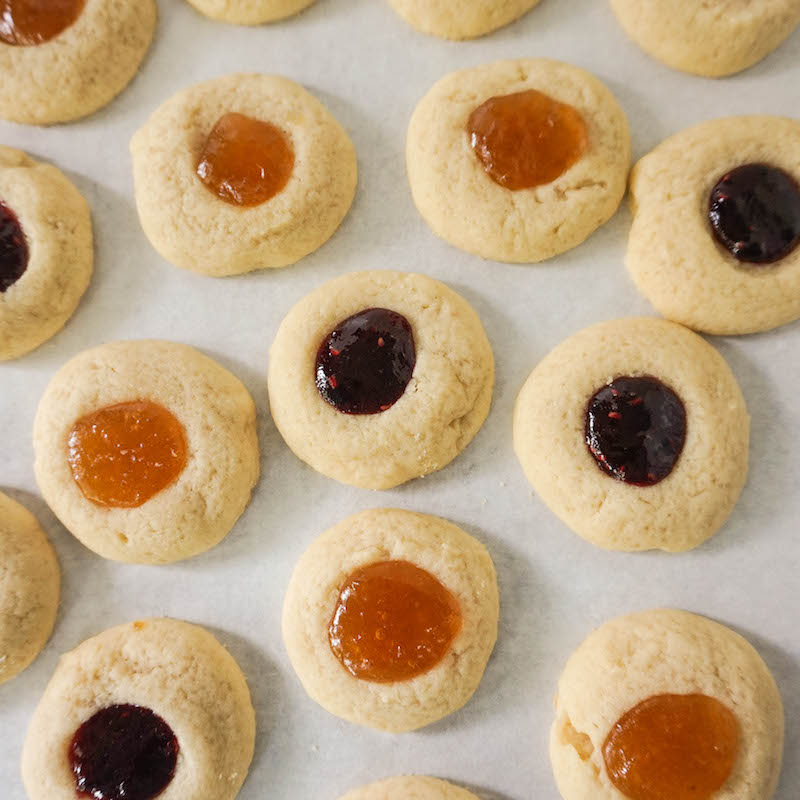
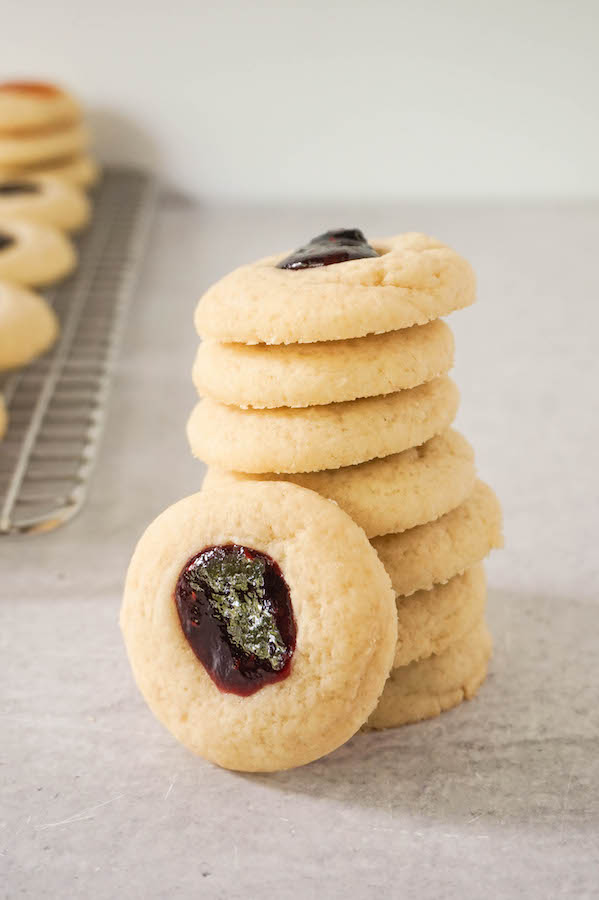
Their simplicity makes them so easy to make: just butter, sugar, an egg, flour, and your fillings. No baking powder or soda required! The cookies are somewhere in the middle of a shortbread cookie and a chewy sugar cookie. They’re soft and chewy, but not super dense, and not too crumbly, either. Plus, they look really pretty with little gems of filling in the middle.
Since the base cookie dough is pretty simple and only lightly flavored with vanilla, there are lots of flavor combinations you can do with thumbprint cookies. Depending on what filling you choose, even a dash of almond extract in the cookie is a nice touch.
As for fillings, you can’t go wrong, really. My favorite fillings are raspberry jam and peach jam, especially if I add almond extract to the dough. Strawberry jam is really good, too. I’ve even seen thumbprints made with mint jelly. Wouldn’t be my first choice, but you do you.
But don’t limit yourself to just jam! Some other filling ideas are:
- Chocolate fudge sauce
- Nutella
- Caramel sauce
- Cookie butter
- Nut butters
- Orange marmalade
- Lemon curd

How to make Thumbprint Cookies
You will need the following simple ingredients:
- Butter
- Egg
- Sugar
- Flour
- Vanilla extract
- Almond extract (optional)
- Salt
- Jam or filling of your choice
As always, make sure the butter and egg are room temperature, and the butter is softened.
First, cream together the butter and sugar. Beat them together until the mixture becomes light and fluffy.
Add the egg and extracts. Beat in the egg and vanilla extract (and almond extract, if using) and mix until combined.
Add the flour and salt. Stir them in with a spatula or wooden spoon. The dough will be thick but manageable.
Chill briefly. This dough doesn’t need long to chill, just 30-60 minutes or so, so it’s easier to roll and flatten, and will keep its shape when baking. While the dough is chilling, preheat the oven to 375ºF and line a baking sheet with parchment or a silicone mat. Also, prepare your filling(s).
Roll and flatten the cookies. Use a teaspoon to scoop the dough and roll into roughly 1-inch balls. Place the balls on the prepared sheet. Use your thumb or the back of a smaller spoon to create a well in the middle of the cookie.
Bake the cookies. Bake the cookies for just 8 minutes. When that time is up, remove from the oven. Re-shape the wells in each cookie if you need to. Then fill each well with your filling. Bake again for 3-4 minutes, until the filling sets and the cookies just start to turn golden around the edges.
If you want to go the extra step, you can dust the cooled cookies with powdered sugar, or drizzle them with icing or melted white chocolate.
These cookies hold really well in an airtight container at room temperature. They should last about a week, if you’re good at rationing them (I am not). When packing them in boxes for sharing or storing, put a sheet of parchment or wax paper between each layer so the fillings don’t stick and make a mess.
Did you enjoy this recipe? You might also like:
Thanks so much for reading and eating along, y’all! If you’re craving more, follow me on Instagram and Pinterest, and sign up for my email list so you never miss a recipe. If you make one of my recipes, tag me on Instagram or share a photo on my Facebook page so I can see your work!

Thumbprint Cookies
Ingredients
- 1 cup butter, room temperature (2 sticks)
- 2/3 cup sugar
- 1 egg
- 1 tsp vanilla extract
- 1/2 tsp almond extract (optional)
- 2 cups flour
- 1/2 tsp salt
- 1/2 cup jam or filling of choice
Instructions
- Beat the butter and sugar together until light and fluffy. Add the egg and vanilla extract, and almond extract if using, and mix again.
- Add the flour and salt, and mix until combined and a dough forms.
- Cover and chill the dough for 30-60 minutes, just enough to firm up and be easier to handle.
- While the dough is chilling, preheat the oven to 375ºF and line a baking sheet with parchment paper or a silicone mat.
- Once the dough is firm, scoop and form it into 1-inch balls. Flatten them slightly, and use your thumb or the back of a small spoon to form a well in the center.
- Bake for 8 minutes.
- Carefully remove from the oven. Reform the wells if needed. Then fill the wells with jam or your filling.
- Bake for 3-4 more minutes, until the filling is set and the cookies just begin to turn golden around the edges.
- Cool the cookies on wire racks.


